How to Add an Item Screen
You can Add Item Screens by using the Vital Select Application or by using the [[[Undefined variable Branding.ProductNAme]]] Back Office.
Vital Select Back Office
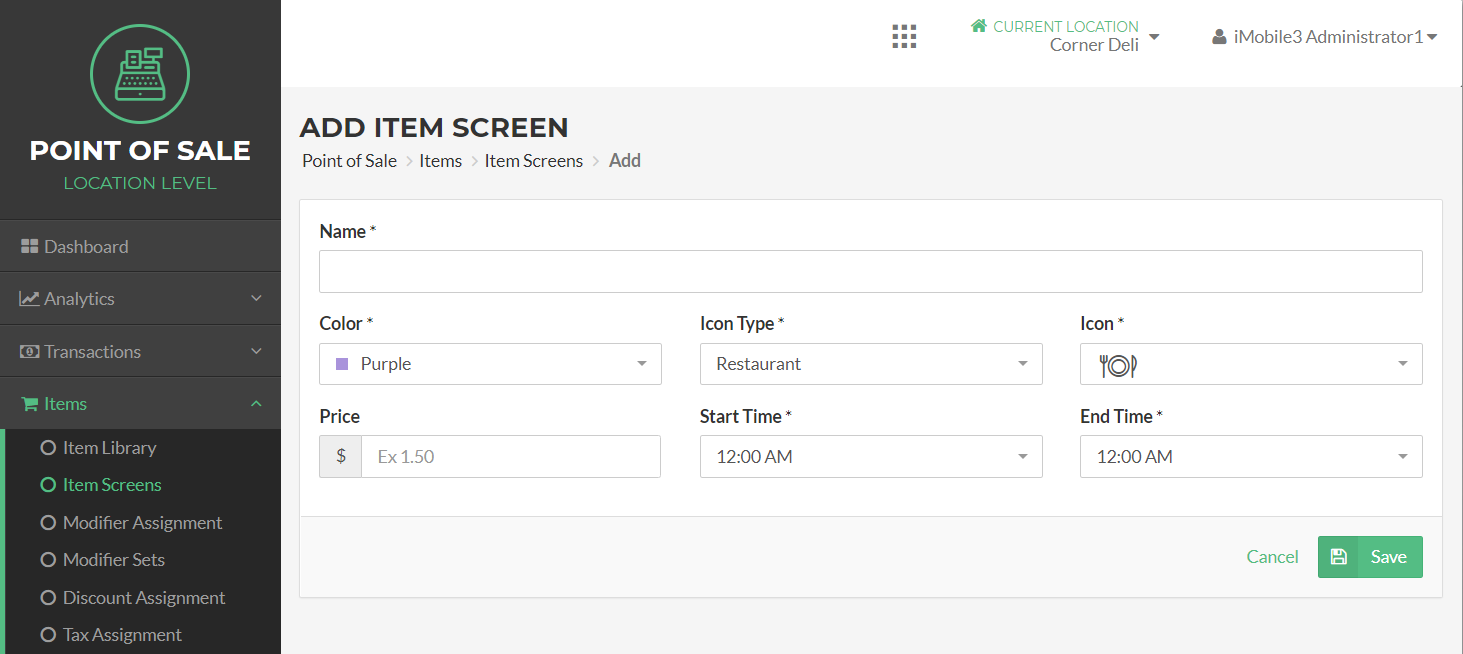
- Click Items the Navigation Menu, and then click Item Screens from the listings.
- Click the Add Screen button.
- Enter a Name for the Item Screen.
- Select a Color, Icon Type, and Icon for the Item Screen.
- Set the Start and End Time for when the Items in the Item Screen will be available.
- Click the Save Button.
- You will automatically be redirected to the Edit Item Screen page.
To Add Items to the Item Screen
- Press the Add Button at the top of the Items Panel.
- Find the Items you would like in the Item Screen by expanding the table.
- Check the checkbox next to each category or item to be assigned to the Item Screen.
- Press the Save button at the bottom.
- Click the Save Button in the Item Panel.
- Click the Done button.
Vital Select Application
- Tap the Add Item Screen button at the bottom of the Items Screen list.
- Enter the new Item Screen Name.
- Select a Color.
- Select a display Icon.
- Review the Summary.
- Select the Save button.
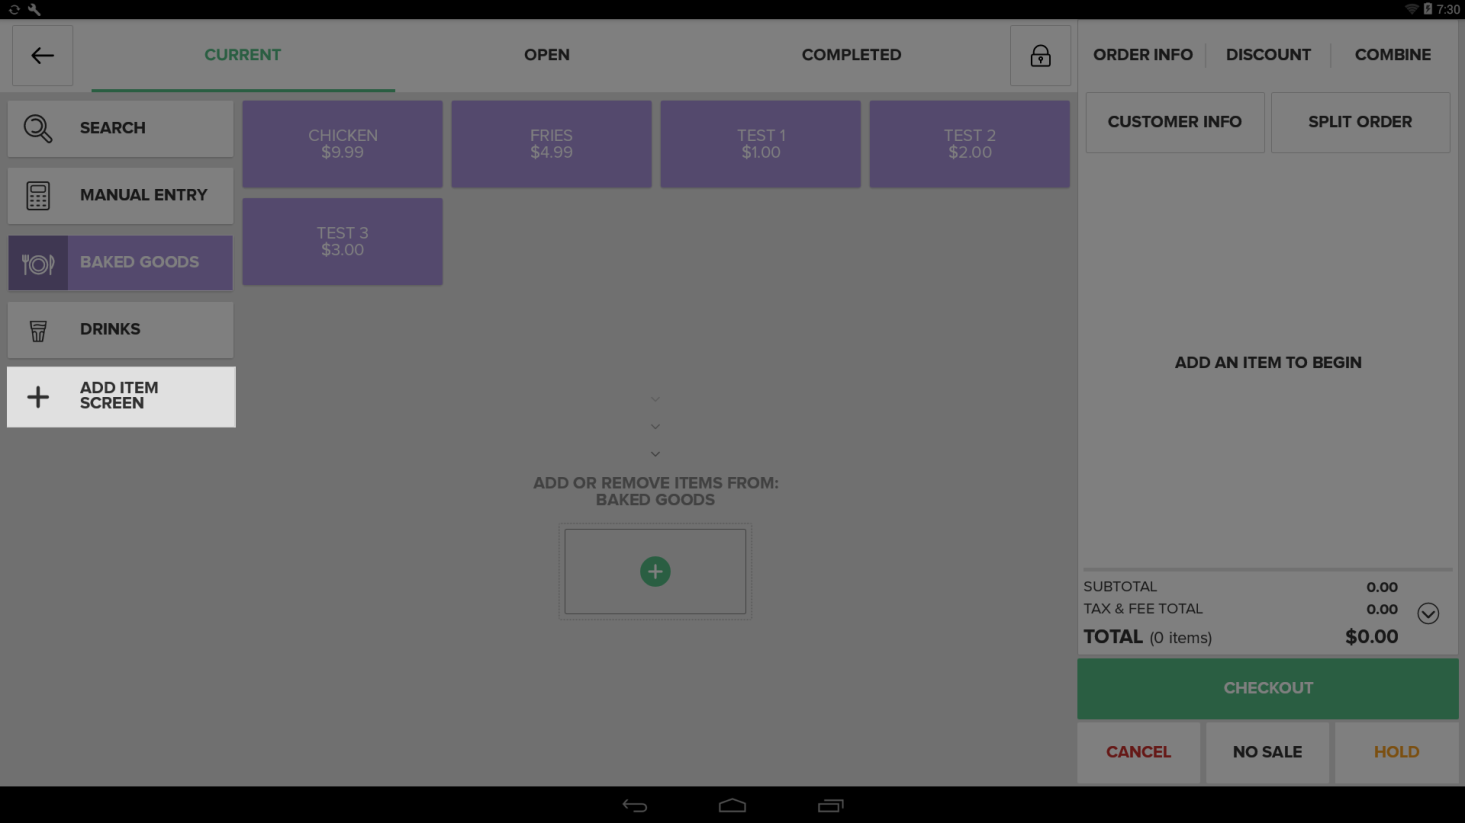
To Add Items to the Item Screen
- Tap the Orders tile from the Home Screen
- Tap the Add or Remove Items button in the center of the screen.
- Tap the items on the left side of the screen to add them to the Item Screen.
- Tap the items on the right side of the screen to remove them from the Items Screen.
- Select the Save button.
To Create Items for the Item Screen
- Tap the Orders tile from the Home Screen
- Tap the Add or Remove Items button in the center of the screen.
- Tap the Create Item button.
- Enter a Name for the item and tap the Continue button.
- Enter a Prince for the item and tap the Add button.
- Enter an optional Item Code and tap the Continue button.
- Review the Item Summary.
- Select the Continue button.
- Tap a Category on left side of the screen to add the item.
- Tap the Add Category, Subcategory, or Group buttons at the top to add the Item to a new Category, Subcategory, or Group in the Item Library.
- Review the Item Library Summary.
- Tap the Save button.